
Expanding your home without breaking the bank is the promise of DIY veranda kits sold at large home improvement stores. The principle is simple: a prefabricated structure delivered with all its components, ready to be assembled by a motivated individual. However, with differences in materials, ground constraints, and assembly pitfalls, the choice deserves real consideration before placing an order.
Concrete slab and ground fixation: what assembly really requires
Most guides talk about the kit itself. Few detail what happens before opening the first box. The concrete slab is the starting point, and it often determines the success or failure of the project.
You may also like : How to Sell an Industrial Building?
A kit veranda relies on a perfectly flat and stable surface. If your land has a slope, even slight, you need to plan for excavation and then pour a slab thick enough to support the structure. Without a level slab, the panels will not fit together properly and sealing becomes impossible to guarantee.
Do you already have a solid terrace? Check that it is level with a laser or a bubble level across the entire planned surface. A difference of a few millimeters over a meter can result in a visible gap between two panels once the structure is assembled.
You may also like : When and how to successfully transplant an olive tree
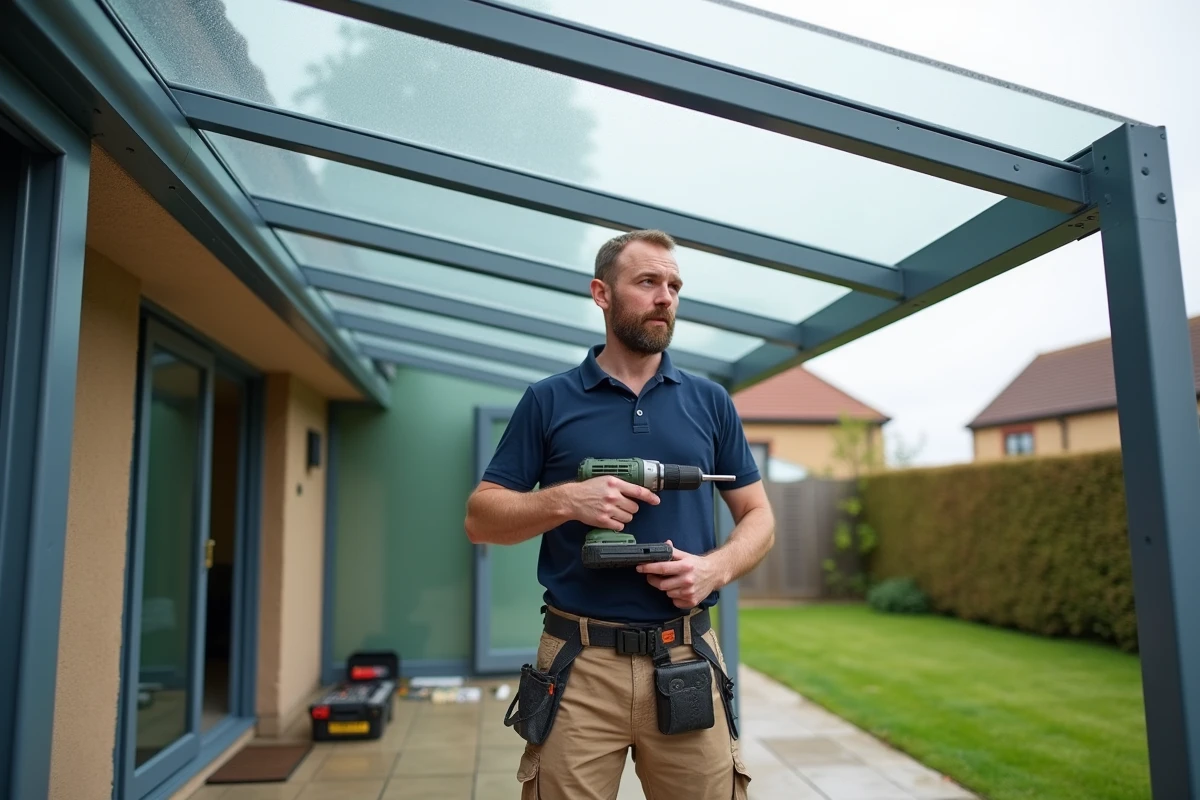
The kits come with fixing plates to be anchored into the concrete. Make sure to have a suitable drill and chemical anchors for older or crumbly soils. This technical detail makes the difference between a veranda that lasts over time and a structure that vibrates at the first gust of wind.
If you’re looking for a concrete starting point on pricing and installation logistics, a comprehensive file on the kit veranda at Brico Dépôt details the assembly steps and price ranges by category.
Aluminum, PVC, or polycarbonate: which material for a budget kit
The material of the structure affects the budget, longevity, and thermal comfort. The three most common kit options deserve to be compared on concrete criteria.
Aluminum: the strength-maintenance ratio
Aluminum is the most widely used material in kit verandas. It does not rust, does not deform under heat, and requires very little maintenance. Its main disadvantage is its thermal conductivity: without integrated thermal break in the profile, the structure transmits cold in winter and heat in summer.
Check if the kit includes profiles with thermal break. In the cheapest models, this feature is absent, limiting the use of the veranda to nice days.
PVC: light on the budget, limited in span
PVC is cheaper than aluminum and offers better natural insulation. However, it does not handle large spans well. Beyond a certain area, PVC profiles bend under the weight of the roof. This material is suitable for a small auxiliary space (office, reading nook) but not for a full living room.
Polycarbonate roofing: the light-budget compromise
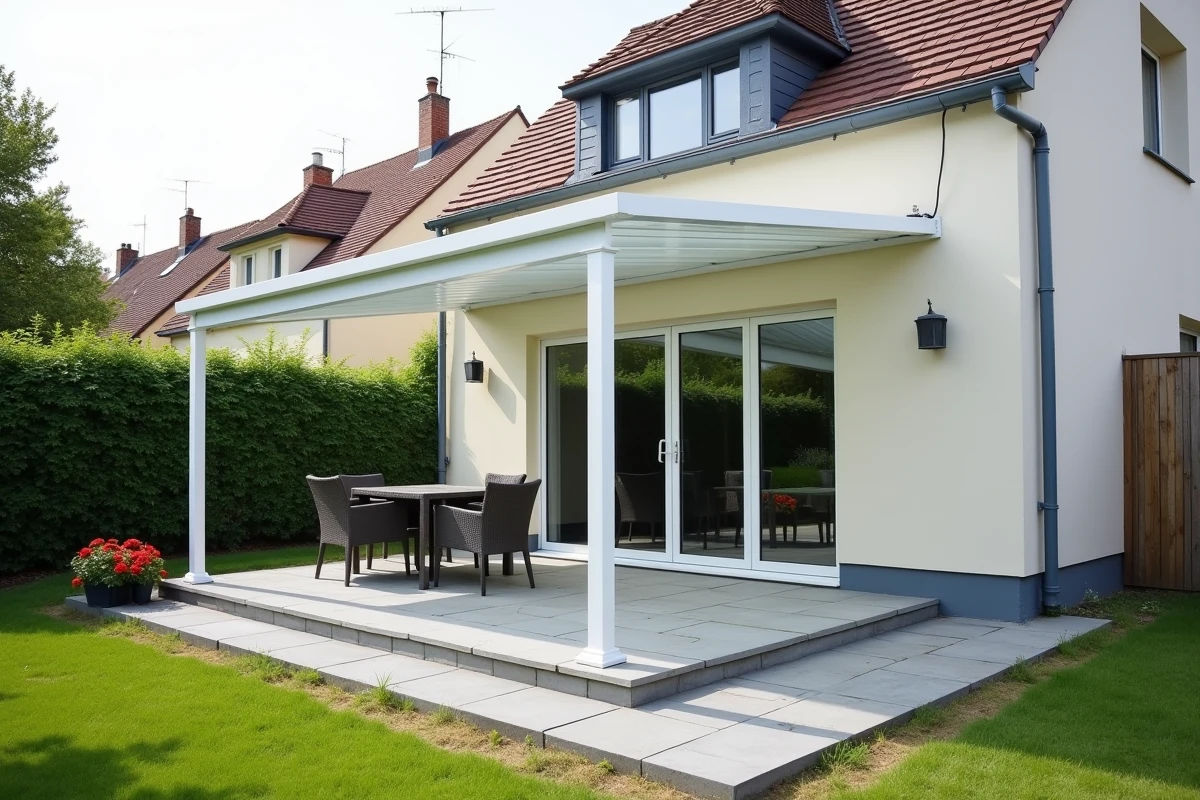
Many budget kits use polycarbonate panels for roofing instead of glass. Polycarbonate allows light to pass through, is shock-resistant, and weighs much less. However, its lifespan is shorter than that of glass: it yellows and loses transparency after several years of UV exposure.
If you are considering a greenhouse or workshop type use, polycarbonate is more than sufficient. For a habitable extension year-round, opt for a kit with double glazing or, at a minimum, thick honeycomb polycarbonate with UV treatment.
Prior declaration and PLU: the steps before installing the first panel
Why discuss urban planning in an article about DIY? Because a veranda, even a kit one, modifies the footprint and floor area of your home. Urban planning rules apply exactly as they do for a traditional construction.
- Below a certain surface threshold (variable depending on the municipality), a simple prior declaration of works is sufficient. The Cerfa form is submitted at the town hall.
- Beyond this threshold, a building permit is mandatory, which extends the timelines and may require the involvement of an architect.
- The Local Urban Planning Plan (PLU) of your municipality may impose constraints on color, height, or distance from property boundaries. Consult the PLU before choosing your kit, not after.
Failing to comply with these steps exposes you to a demolition order. The cost of the kit then becomes secondary compared to the costs of restoration.
Assembling a kit veranda: common mistakes to avoid
Assembling a kit generally takes one to two weekends for two people. The instructions provided by manufacturers have improved, with step-by-step guides and sometimes videos. Despite this, certain mistakes consistently occur.
- Neglecting the sealing of joints between the roof and the house wall. This is the area most exposed to leaks. A silicone seal alone is not enough: an aluminum flashing must be mechanically fixed.
- Tightening the structural screws too much from the start. Assemble the entire structure first before tightening to the final torque, otherwise the last panels will not align.
- Forgetting to check the squareness at each stage. A few degrees of deviation at the base turns into a visible offset at the top of the structure.
- Underestimating the weight of the glazing. Even in polycarbonate, the roof panels are bulky. Plan for a third person for handling at height.
One last point often overlooked: ventilation. A closed veranda without high openings creates a greenhouse effect as soon as the first rays of sunshine hit. Ensure that the kit includes at least one high ventilation grille or plan to add a roof opening.
Choosing a budget kit veranda does not mean compromising on strength or comfort. The key lies in preparing the ground, selecting the right material for your actual use, and adhering to local urban planning regulations. A well-installed kit on a proper slab, with watertight joints and adequate ventilation, provides a functional extra space for many years.